Friday, October 25, 2013

Evenly Spacing Buttonholes

I had a lovely trip to Tucson.  The highlight of the trip were the javelinas who visited the patio most mornings.   I wasn't stupid enough to think I could interact with them, especially as there was a mother with babies.

I have been working like mad to finish up the garments for the photo shoot on November 6th especially as I will be out of town AGAIN next week.  It will be a close thing.

STUDENT NEWS
I'm sorry I couldn't list those that had completed lessons in my last post.  I have had some frustrations with Blogger lately.  This week it was a problem uploading photos.  I almost gave up.  I managed to review the lessons that had arrived while I was gone.  Several arrived during the week.  Again, I will be gone from Oct 26-Nov 1 but it generally doesn't take me long to get caught up.


TIP OF THE WEEK
Since I didn't have much time this week to devote to the tip I decided to use my current project...the cardigan for the twin set since I had to evenly space buttonholes on it.


I am not a bit fan of formulas in knitting, mainly since I am a math idiot but also I've noticed that some knitters rely solely on formulas and don't consider factors like the stitch pattern.  I prefer to treat each project individually.  The first thing I do before even thinking about where to place the buttonholes is to use my gauge  swatch to work a sample buttonhole.  This lets me see if the buttonhole will work with the stitch pattern and how many rows I will need to have the buttonhole centered in the band itself.  This also lets me know how many rows I will need to make the buttonhole.  Some buttonholes require several rows and if this is the case, this must be factored into evenly placing them.

Once you know the type of buttonhole I plan to make, I work the button band.  I write down the number of stitches I have picked up.  I make sure to work the number of rows I have determined I need for the buttonhole to be centered on the band.

Using the button band, I decide where I want the first and last buttonholes.  I count the stitches before the first buttonhole and those after the last one.  I subtract those from the total number of stitches.  I then divide the number of buttonholes I need between the first and last into the number of stitches.  This tells me the number of stitches I need between the buttonholes.  I use this as a ballpark number.  I put the buttons on the band and see how this looks.  I make changes as necessary.  I prefer to work with number of stitches.  If there are 20 stitches between some buttonholes and 21 between others it is not the end of the work.  I just work with it.

The video shows the process I went through with this sweater with one change.  In the video I worked it out for 6 buttons.  I realized after I made the video that the pattern (which I have already turned in) calls for 7 buttons.  OOPS!  It was easier to change the number of buttons than the pattern!  Evenly Spacing Buttonholes

KNITTING SALON

I will be leaving town so there won't be a salon this week.  We will resume on Sunday, November 3.  I am also missing the opera tomorrow.  The first opera was while I was in Charlotte and I was teaching that day.  I miss them.


CURRENT PROJECTS

I don't know what I was thinking when I signed on to doing the twin set.  I used size 3.00mm needles so it took forever and I had to rip things out several times.  Interesting thing about the mink...it has no memory so when you rip it out, it isn't kinked at all.  I wouldn't recommend this yarn for anything that requires body.  It was perfect for the twin set..really drapey.  Here are some photos of the completed garments.  The shell is very simple.


My cats love this yarn.  Anytime I put it down, one or both were sitting on it.  


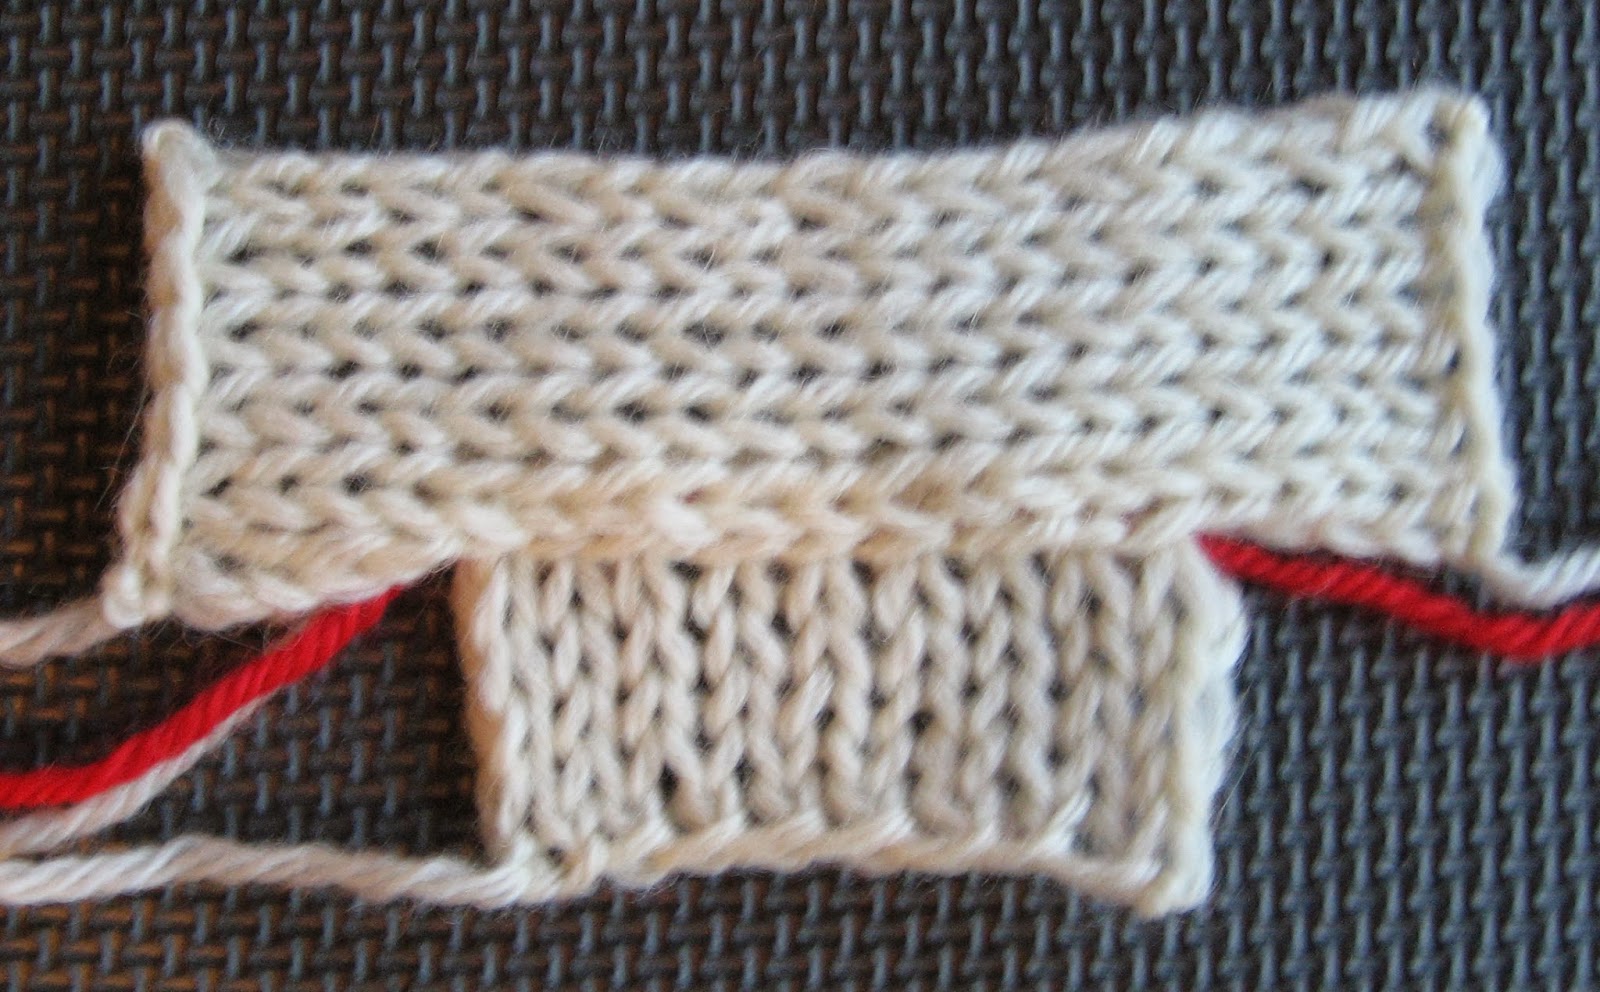
I'm hoping to get the skirt done tomorrow.  It is a breeze after the cardigan.  Size 8 needles.  This photo is deceptive.  The skirt is 38" but George makes it look like a doll skirt.  The bottom band (cables) is knit separately and the stitches are picked up along the selvedge.  I think the contrast in textures.


There is a slit at the back.  I will be knitting socks for the magazine while on the trip.  Good thing I am fast.

Friday, October 11, 2013

Seaming a Horizontal Edge to a Vertical Edge

Google seems to be having some technical issues in text editing the gadgets (to the right).  I wasted about an hour or so thinking it was me.  I will try again later to update it!  Apologies to all, especially the students who have completed lessons.

The conference in Charlotte (or rather Concord) was great but tiring.  I taught every day and my students were wonderful.  It was a lot of work to get ready but it was worth it.  The yarn balls I wound with my nostepinne were a hit.  Laura Farson took Day 1 of my Finishing Class and gave me her seal of approval (unless she was just being nice!)

I won't be doing a blog entry next week.  I will be coming back from Tucson.  My husband has a meeting there.  It will be nice laying around doing nothing for a change.

STUDENT NEWS
There were a few lessons waiting for me when I got home but not too many.  Several knitters I met at the conference signed up for courses.  You would think they would be sick of me!

TIP OF THE WEEK
I have finally got around to the final seaming tip...horizontal to vertical edges.  You would use this technique primarily to sew a sleeve cap to an armhole opening.  To do this you need to know how to seam horizontal edges (bind offs) and vertical (selvedges).  I've already discussed these two techniques in previous tips.  Here are the links in case you need them:  Horizontal Edges and Vertical Edges.  On vertical edges you use the horizontal bars between the selvedge stitch and the next column of stitches.  On horizontal edges you place the seam in the stitch below the cast on edge. 

The only thing that complicates this type of seam is that there are more rows per inch than stitches.    This means you cannot pick up one row for every stitch or the seam will be puckered.  You need to use the gauge ratio.  For example, if your gauge is 4 sts and 5 rows per inch, that means you need to use up 5 rows for ever 4 stitches.  To do this, you use a single bar (each bar represents a row) for three stitches and on the fourth, you would use two bars.  The photograph below shows this.  (By the way, I knit these swatches using GIGANTIC needles so the tension isn't great).


If you look this technique up in a book you might find different ratios suggested.  I've seen 3:4 and 4:5 listed as hard and fast rules.  For the most part, both work but your actual gauge for one inch generally gives the best results.  Here is the final swatch. 


When you are seaming a sleeve to the armhole opening, always start at the shoulder seam.  Seam one side first and then the other.  If the sleeve is a drop shoulder sleeve, be sure to mark where the sleeve should line up on the other side of the garment.  It is very easy to wind up with one side of the sleeve lower on the body.  If it is a set-in-sleeve, pin it in place first the way you would if you were inserting a set in sleeve on a fabric blouse with a sewing machine. 

Sewing in a sleeve is more art than science.  I can honestly say I have never had one go in perfectly without some altering of the ratios at the armhole.  This reminds me of picking up stitches for a thumb.  It always requires a bit of fudging.  Don't worry too much about this.  Unless you are REALLY off, it is not all that noticeable.  Most of the fudging is done at the underarm. 

KNITTING SALON
There won't be a salon this week.  I will be traveling on Saturday.  See you in two weeks.

CURRENT PROJECTS
I didn't get near enough done at the conference.  I had very little time to knit.  This is somewhat ironic if you think about it.  I did finish the shell for the twinset before I left.  It is blocked but not seamed.  I've finished the back of the cardigan and the armholes are in sight for the front.  I must have the sleeves done next week to stay on schedule.  Here is the cardigan in progress.


It is wishful thinking, I suppose, but I did the gauge swatches for the skirt.  Yes, I know the swatch is really short but I am not too concerned about the row gauge.  The swatch to the left is for the skirt body.  The swatch to the right is for the border.  It is hard to tell but the border will be cabled.  Yes, I know you will not be able to see the cables but the texture will be different.  I decided to do this to add some weight to the bottom.  The bottom band will be knit separately and then stitches will be picked up along the vertical edge and worked in the round from that point on.  I will not seam the bottom band.  I want a slit at the back.  The yarn is Debbie Bliss Milano.  I like the contrast between this fabric and the twinset.